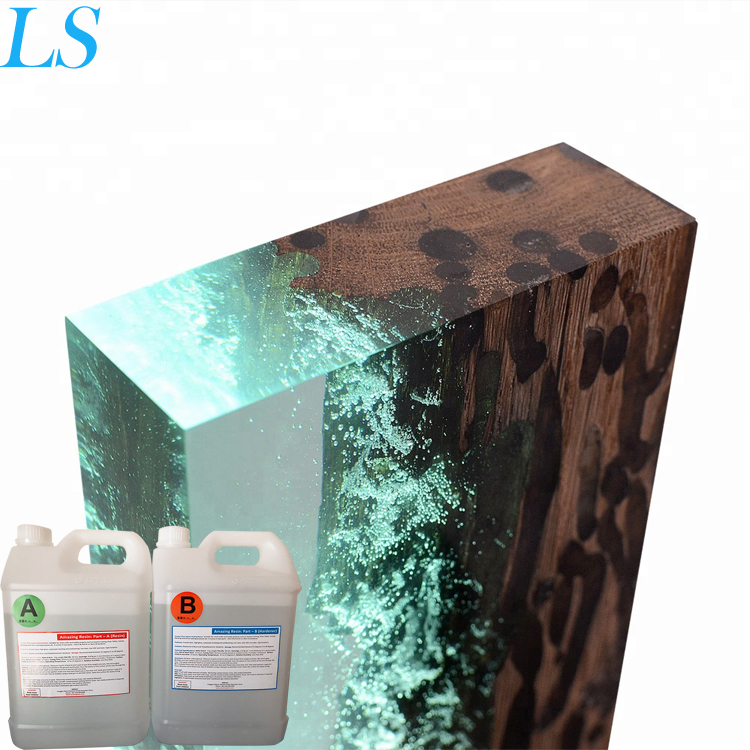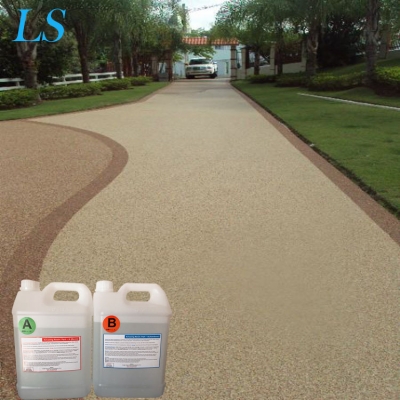
Feature:
1.Can cure at room temperature or heating curing,
2.Can automatic antifoaming
3.Can automatic leveling
4.Cured without ripples, no bubbles
5.Good transparency and excellent surface gloss
6.Can polish after drying
7.After dry,it is with high hardness as stones
8.With high gloss like mirror

How to do epoxy casting table:
Step 1: Measure Epoxy
LS319AB Clear Epoxy is two-part, epoxy coating and mixed by 3 to 1. Using electronal scale weight 2A and 1B. Mixingit well. Then pouring the mixture into a new container. Inorder to makesure it is 100% mixing well.
Step 2: Paint on a Seal Coat of Epoxy
On porous material such as wood, you will need to paint on a seal coat of the same epoxy first to seal any pores in the surface. This prevents air bubbles from forming in the following flood coat. Not all surfaces require a seal coat. Contact customer service if you are unsure if your project will need a seal coat as you will need to figure the seal coat into your epoxy order to make sure you have enough product.
Step 3: Pour Epoxy Flood Coat
Pour the epoxy onto the surface working your way down the length of the area. The epoxy self levels so there is no need to move it around with any tools. The epoxy coat can be allowed to flow over the sides which will create a coating on the vertical edges. The epoxy that drips over will form bumps about 1/2 inch underneath the lip of the edge. These drips can be sanded off once the epoxy has cured.
*Multiple flood coats can be applied to cover over embedded objects. Just pour a new flood coat every 4 hours.
Step 4: Pop Air Bubbles with a Plumber‘s Torch or Heat Gun
Once you finish pouring the epoxy, you will need to pop air bubbles using a plumber‘s torch or a heat gun (not a hair dryer). This process is the easiest step as it only takes about 30 seconds to 1 minute to do. Keep the torch or heat gun a few inches from the surface and simply wave it back and forth until you cover the entire distance of the surface. The heat pops any bubbles instantly.
Finished Project
The epoxy is dry to the touch in 12 hours. Allow 72 hours before using the surface. That‘s it!


